This is a recipe that a very good friend recommend me but using smoky tofu instead of bacon. So I decided to give it a go:
Ingredients:
- 1kg of fresh spinach
- 1 onion
- 3 cloves of garlic
- 250g of smoky firm tofu
- 150g of cheese (of your taste)
- 1 cup of rice (paella or risotto style)
- 1 can of tomate sauce
- 200ml of cream
- 1 cup of chicken/veggy stock.
- 1 cup of plain flour
- 3-4 eggs
Process:
- In big sauce pan, add boiling water and cook all spinach. They will reduce a lot. Once they are soft, drain the spinach and chopped them very thinly.
- In another sauce pan, add some olive oil and fry for a bit the chopped garlic cloves. Then add the rice. Fry everything for a bit, then add two cups of boiling water to the rice and let it cook at low-medium heat. Try to get it as much dry as possible to hep making the balls later.
- In a frying pan, add a bit of oil, at medium-heat. Add chopped onions, and fry until golden, then add chopped tofu. Fry everything, try to get a golden color from the tofu.
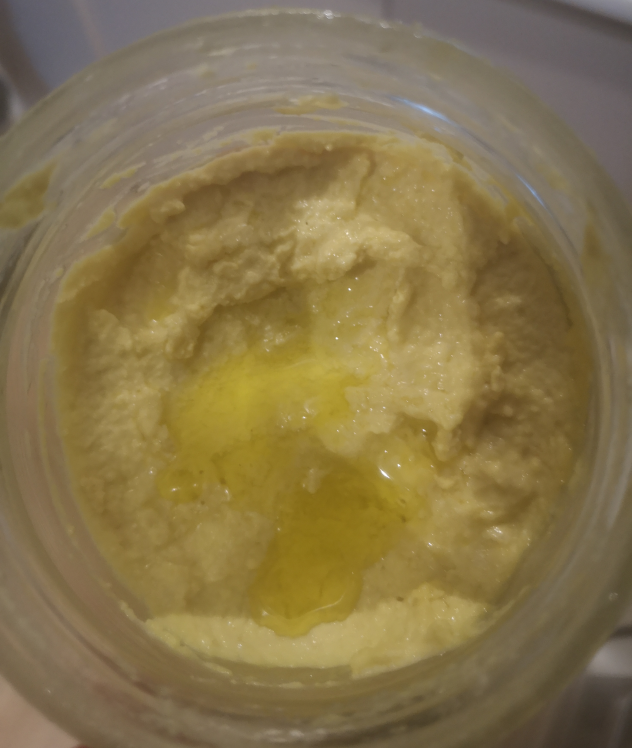
- In another frying pan, add the tomate sauce, stock and cream. Mix well, and let it cook at low-medium heat.
- In a big bowl, put the chopped spinach, rice, tofu and cheese. Mix everything very well. Make you a big favour, let it cool down! Put it in the fridge, outside, whatever.
- In one plate/bowl add the flour and in another the whisked eggs.
- From the spinach mix, start making some balls, then pass them through the flour, cover properly, remove any excess and the pass through the eggs. Prepare all balls before frying. If you let the mix cool down, it shouldnt be much effort, and then frying would be easier.
- In the small frying pan, some a bit of oil and heat up. You dont need to deep fry.
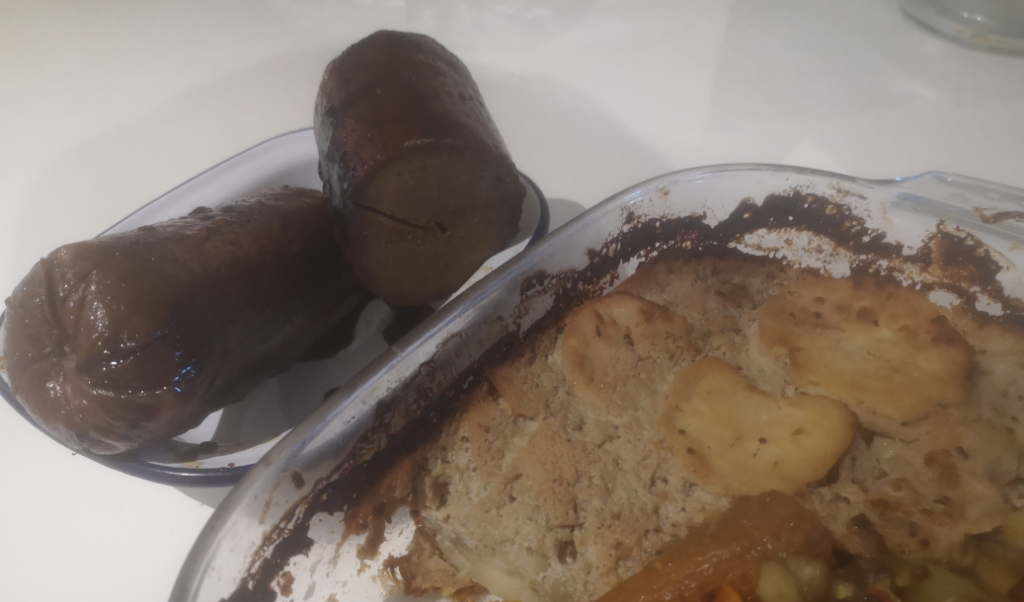
- Then in the small frying pan, put 3-4 balls and fry them until golden in all sides. Them add to the tomate sauce mix.
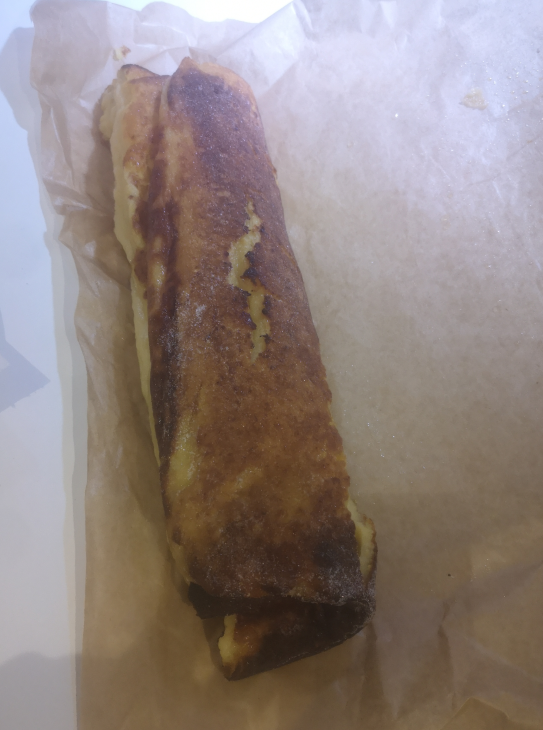
- I filled the tomate sauce pan with spinach balls, so I used the left over and did some other balls and “omellete”.
- Keep the spinach balls in the tomate sauce until it thickens up a bit.
- Then you can remove from the heat, and ready to eat!
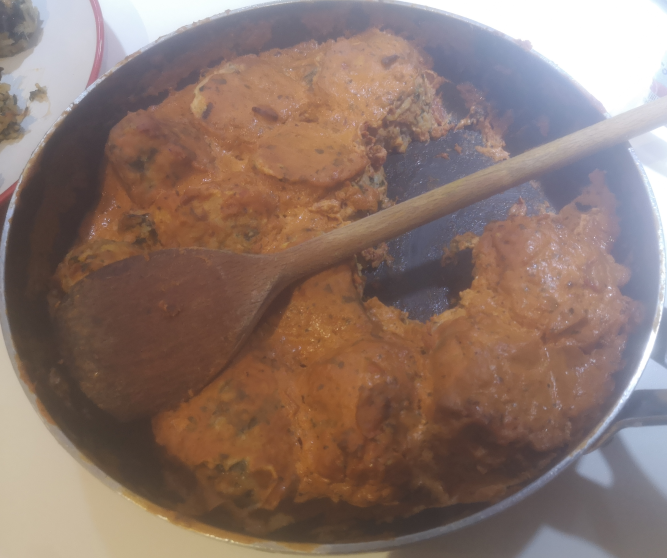
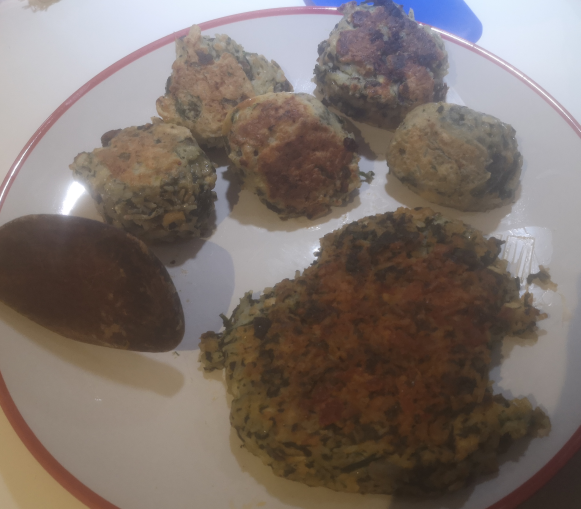
The recipe is very tasty. I didnt manage to get a good ball form, I think my rice was a bit too wet? In the video the balls look super rounded. But anyway, I had a good lunch the whole week!