1) Network Topology: backend network only for GPUs (RDMA nics), non-blocking. Frontend network: data ingestion, checkpointing, logging.

Pod = AI zone
 leaf = RTSW, DAC cables, shallow buffer
 spine = CTSW, deep buffers. fiber between leaf-spine.
SuperSpine = ATSW, oversubscribed, connect AI zones

intra-node -> nvlink
ROCE: cpu offloading, ethernet (standard)

collective communication library serves as the sw abstraction between training workloads and the NIC
                                 schedules verbs calls over QP (Queue Pairs)
 parallelism strategy determines collective: allreduce, allgather, alltoall
 choice logical topology:

------------------

2) Routing: work load. low entropy flows (few flows) -> ECMP bad (5-tuple udp: src/dst ip, src/dst port, protocol), burstiness, elephant flows
--

 RTSW uplinks 1:2 under-subscribed! -> expensive (short-term)
 1) QP scaling: use destination QP of Roce packet using the UDF capability in switch to increase entropy -> Enhanced ECMP -> short-term
 2) Central TE controller -> long-term: CP real-time topology end-to-end cluster,
                                        flow matrix (flow bps) + CSPF (constrained SPF)
                                        write in switches dataplane
                                     DP: TE overrides default BGP routing policy in leaf. Use Exact Match table.
                           Not good with multiple link failures. Doesnt scale
 3) Flowlet switching: try to improve 1 and 2. hw assistant schema. put packets in different ports in ECMP
     out-of-order: move packets only after 1/2 RTT
     load-aware path assignment: better than TE

------------------

3) Transport: congestion management. Start with DCQCN. packet drops on ACK/NACK can cause prolonged Local ACK timeout (LAT)
--
 Tuning DCQCN not great (strict ECN -> minimize PFC (can lead to head-of-line blocking)

 200G, we stayed with relaxed ECN marking, allowing for buffer build up in the CTSW, while keeping default DCQCN settings.
 400G We proceeded without DCQCN. just PFC for flow control
 re-design collective library: two-stage copy

------------------

4) Operations:
 Change QoS priority of Clear to Send (CTS) messages. In RTSW ASIC, modify dsCP marking for ACK  messages
 Tuning VOQ in CTSW
 obeservability: OOS: out of seq.
                 Link flaps
                 Local ACK timeouts (LAT)
                 PFC watchdog: catch any long-duration PFC pause (>200ms)
                 buffer utilization RTSW
                 reachibility (pings)
                 constant latency monitoring loaded and unloaded (catch regressions)
                 base lines!!!
AWS RNG – Random Graph Network: The paper is totally out of my space, but the concept looks brutal. With an operations hat, how you troubleshot it? (ping, traceroute, link congestion, data flows patterns, etc)
MRC1 and MRC2 (OCI): Why we need planes (breakouts) and not just a big plane.
As SerDes speeds continue increasing, every microsecond of congestion creates much larger pressure inside the fabric. A 100G transport domain may be manageable. A 400G domain amplifies the same congestion into roughly 4x pressure. An 800G domain, and eventually a 1.6T domain, becomes much harder to coordinate.
This pressure appears as larger switch buffer requirements, larger congestion domains, harder retransmission coordination, larger cache pressure, larger synchronization storms, and harder thermal and power scaling inside ASICs.
At hyperscale, switch ASIC cache and transport coordination become fundamental scaling bottlenecks. Increasing switch buffer size is extremely difficult: high-speed SRAM is expensive, larger cache arrays consume significant power, thermal density rises quickly, die area scaling becomes inefficient, and routing complexity increases dramatically.
Splitting transport into many smaller lanes naturally reduces these pressures. Reliability improvements then emerge as a byproduct, because congestion, retransmission, and buffering become more distributed.
THE QUESTION: which breakout keeps the fabric at the shallowest practical Clos depth while keeping plane count and operations manageable? -> less hops, less switches, less latency
Slurm Workload Manager (short for Simple Linux Utility for Resource Management) has become a cornerstone of large-scale computing. Originally created in the early 2000s to support large-scale high-performance computing (HPC) environments, Slurm is now widely recognized as the de facto scheduler for HPC clusters. Today, it orchestrates jobs across thousands of servers and GPUs in some of the world’s most advanced computing environments.
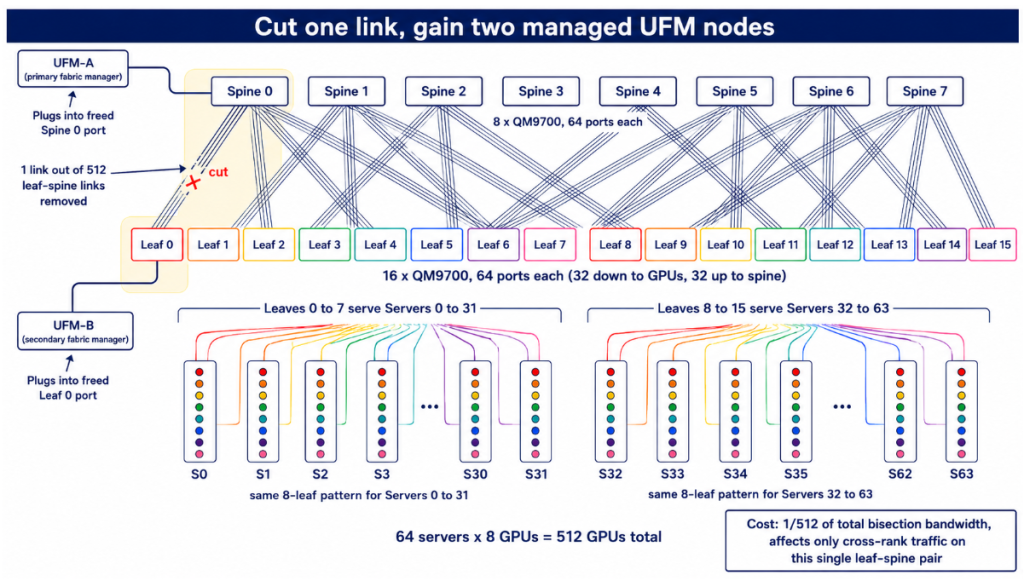
Interview Question: 512 GPU, non-blocking (full bisection) and 2xUFM! I really liked this. I think for once I understand the rail-optimize (fat-tree = leaf-spine). Just break one leaf-spine link, beautiful!!!
800VDC: Next step in electrical infra in DC space.
This is a cake I wanted to try after I visited Greece with my friends. I never had the name of the cake, but after that holidays I did dome research and I think I found the name, portokalopita. I’ve got a receipe, but then I did nothing.
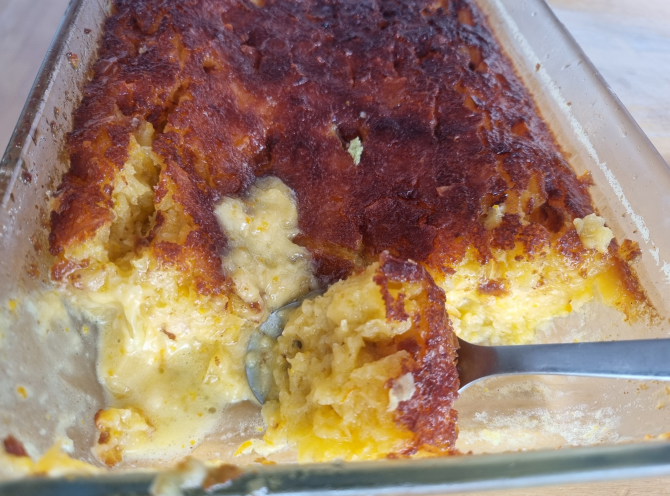
So finally, I tried. The taste is similar but the execution is not great. Mine is too runny.
Ingredients
Syrup
1 1/2 cup orange juice (just squeeze it from oranges…. I didnt do it)
1/2 cup water
1 1/2 cup sugar
1 cinnamon stick
Cake
180g phyllo sheets (I think I need double)
4 eggs
1/2 cup sugar
1 cup olive oil
2 tsp vanilla extract
200g yogurt
2 tsp baking powder
orange zest from 2 medium oragnes.
Instructions
Preheat oven at 120C.
Place the phillo sheets on a tray. Cut them in slices so it easy to fit. Get them in the oven, until hard and crunchy. Turn them over when needed. Remove from oven and let is cool down
Make the syrup. In a small sauce pan mix the orange juice, water, sugar and cinnamon. Bring to boil, then reduce heat and simmer for 7 minutes. Set aside to cool
Set oven at 180C
In a large bowl add the eggs, sugar, oil and vanilla. Beat until frothy.
In a smaller bowl, mix the yogurt and baking powderand set aside for 2-3 minutes. Add the yogurt to the egg mix
Add the orange zest and crumbled phyllo into the egg mix gradually.
Grease an oven dish, and pour the cake mix. Even it out
Bake for 35-40 minutes or until the top is dark golden.
Remove from oven and make a few slashes with a knife and immediately drizzle the syrup slowly.
Let the cake sit for 2-3 hours.
Keep in the fridge for 1h before serving.
The result:
I think the syrup is too much and I my cake mix needed more phyllo
Eat the peel: After reading this, I started eating the kiwi’s peel. Not going back. I would like to do something with banana peels and oranges. But dont want to use a tone of sugar neither. I will try my spicy banana bread next time with peel. The orange peels you can keep it as aromatic when dried.
Virginia Air Space Museum: I was there 3 years ago I think. Amazing. You have a blackbird SR71, Concorde, Space Shuttle, etc. Totally worth visiting.
Fairwater: This is already old news in the AI datacenter world. But still interesting at high level.
Microfluidics: “Tiny channels are etched directly on the back of the silicon chip, creating grooves that allow cooling liquid to flow directly onto the chip and more efficiently remove heat”.
The process works in three stages. First, air is taken in from the surroundings and cleaned. Second, the air is repeatedly compressed until it is at very high pressure. Third, the air is cooled until it becomes liquid, using a multi-stream heat exchanger: a device that includes multiple channels and tubes carrying substances at different temperatures, allowing heat to be transferred between them in a controlled way.
“The energy that we’re pulling from the grid is powering this charging process,” says Cetegen.
When the grid needs extra energy, the liquid air is put to work. It is pumped out of storage and evaporated, becoming a gas again. It is then used to drive turbines, generating electricity for the grid. Afterwards, the air is released back into the atmosphere.
Infinibad HPC: This is a good intro for infiniband, it helped me to refresh the training I did two years ago
Designing HPC Cluster Infinibad: It seems more practicas as you have the different type of deployments based on required nodes. Avoid credit loops.
Use a square baking pan, cover it with baking paper
Melt butter in a pan over medium heat. Butter will foam, bubble, and crackle. Keep stirring. Light sediment will appear. Keep stirring an reduce heat to low. Wait until sediment turns rich brown and butter smells nutty. Remove from heat.
Add salt and sugar, stirring to incorporate.
Add flour until well combined
Add water and form a dough.
Transfer dough to the baking pan. Try to press into an even layer. Prick all over with a fork.
Bake for 20-25 minutes, until evenly golden with slightly browned edges.
In the same pan as you did the crust. Add all filling ingredients except lemon juice and butter. Stir to combine.
Add lemon juice and mix.
Now cook over medium-low heat, stirring and scraping constantly.
When filling begins to thicken, reduce heat to low. Cook until is slightly thickened, and coats spoon.
Remove from heat. Add butter, mix until combine.
Strain filling onto baked crust. Tilt pan to spread evenly.
Bake for 20 minutes, until the filling is set. The filling should barely jiggle when the pan is shaken.
Allow the bars to cool down at room temperature before moving to the fridge.
You can serve later or next day. Cut with a clean knife.
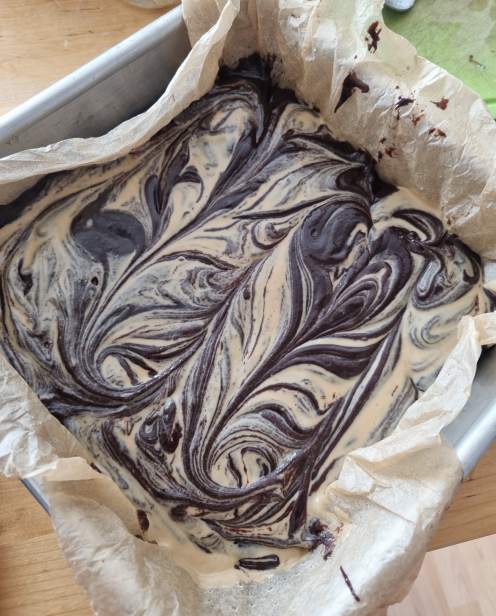
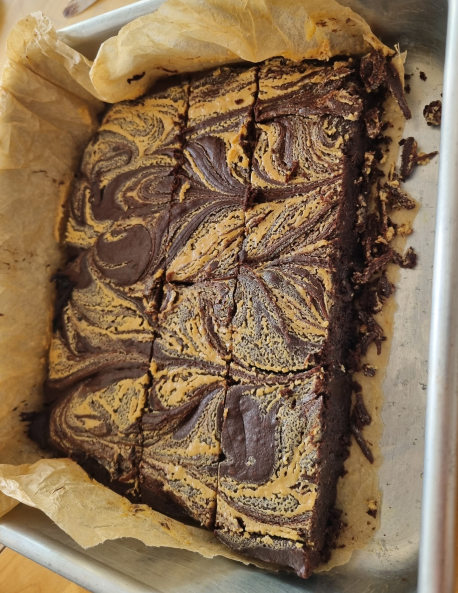
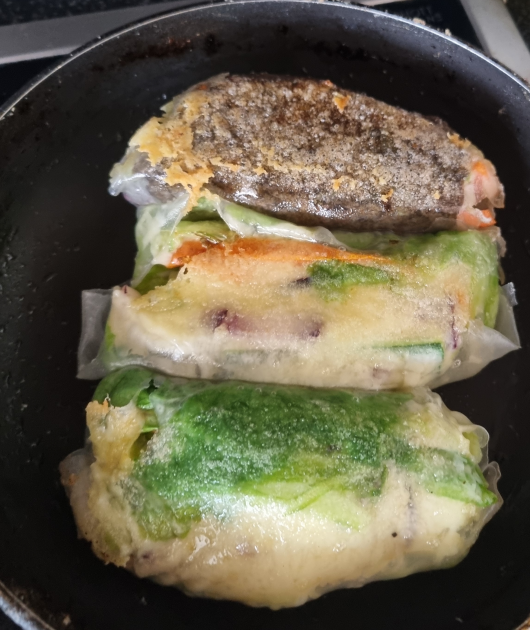
I made several mistakes. I added the egg whites to the mix and I burned the egg mix so for that reason you see brown spots.
I have baked a vegan version but I wanted to try the traditionalversion.
Ingredients 1 bag of tea 200g fresh Medjool dates 1 teaspoon ground cinnamon 1 teaspoon ground ginger 1 teaspoon grating nutmeg 85g unsalted butter, plus extra for greasing (at room temperature) 85g dark muscovado sugar (I used brown) 170g self-raising flour, plus extra for dusting 2 eggs pinch of salt
Carame Sauce: 125g unsalted butter 62.5g dark muscovado sugar (I used brown) 62.5g white caster sugar optional 1 shot dark rum 200ml double cream
Serving
Vanilla ice cream
Process
Pre-heat oven at 180C
Chop the dates and cover in boiling water until soft with a tea bag
Cream the butter and sugar.
Add the eggs to the butter/sugar, the add the flour. Pinch of salt
In a hand blender or similar, add the dates with some water and the spices.
Add the date mix to the butter/sugar/flour. Combine properly
Grease a pan with butter and flour. Pour the mix.
Bake for 40-45 minutes. Use a stick or knife to be sure the cake is ready (should come up clean)
Prepare the caramel sauce, in a pan, add the butter and two types of sugar. When it is boiling add the the shot and wait for the alcohol to evaporate.
Add the cream and mix for 1 minute to avoid burning. The more you cook the sauce, the thicker will get later on.
Remove the sauce from the heat.
Once the cake is ready, make some holes in the top and pour the caramel sauce on the top, use a brush to cover the whole surface.
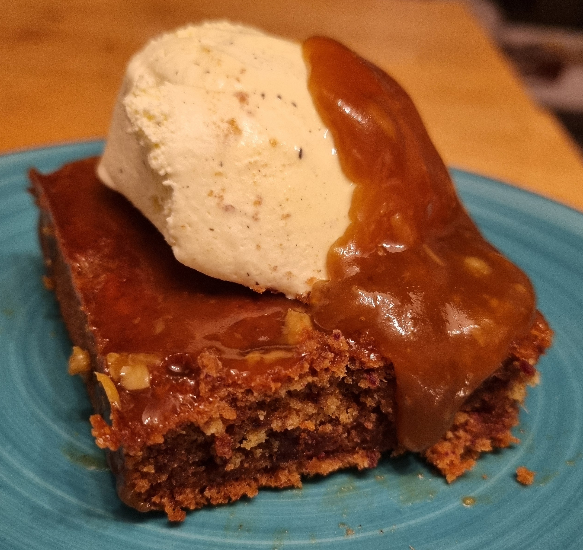
For serving
Cut a portion, add a scoop of vanilla ice cream and a bit of caramel on top.
It was really tasty. I wonder how the restaurants serve it always warm! I guess the caramel sauce and cake can be pre-heated?
This is a “new” recipe It is a bit different from the one I used before as it doesnt use bread starter. One issue is still the sugar (I think) I use orange juice and that is not as sweet as Mosto.
Ingredients
250ml orange juice 125ml olive oil 62.5g sugar (next time use 100gr) 14g dry baker’s yeast (1 sacket) 2 medium eggs (reserve 1/2 for brushing) 1 pinch of salt 500g strong flour (>12gr protein) (maybe a bit more next time)
Process:
Warm up a bit the orange juice. Dont boil it. You should put a finger without burning
Mix in a bowl the orange juice, yeast, oil, sugar and eggs.
Add the flour bit by bit. And the salt, It will be sticky
Knead the dough by hand until smooth. Mine was sticker than the video and took me a while until it became that shiny.
Put it in a bowl and let it rest until double in size
Then divide the dough. I made pieces of 190gr aprox. Then pinch them to form a ball and shape them.
Let is rest until double is size
Pre-heat oven at 180C
Before baking, brush them with a mixed egg and add a pinch of sugar on top.
Bake until golden (20m or more)
Just before getting into the oven
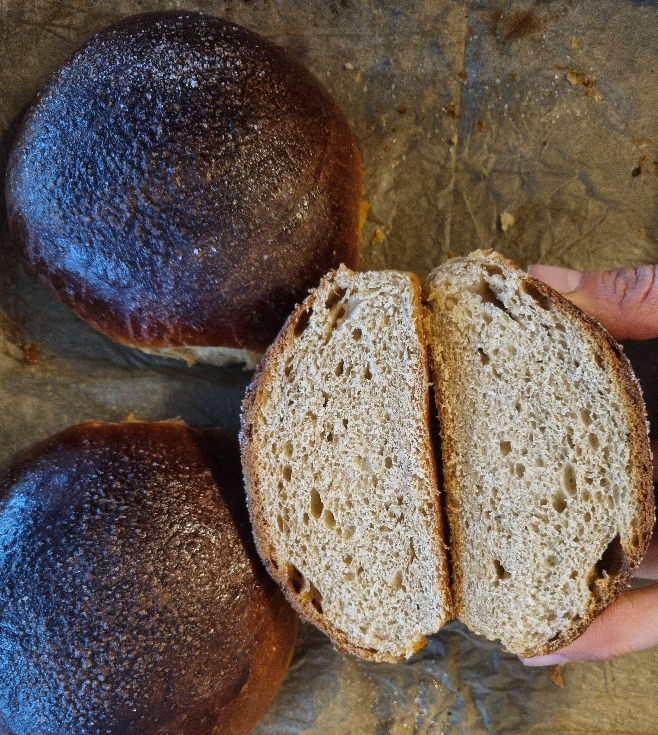
After baking
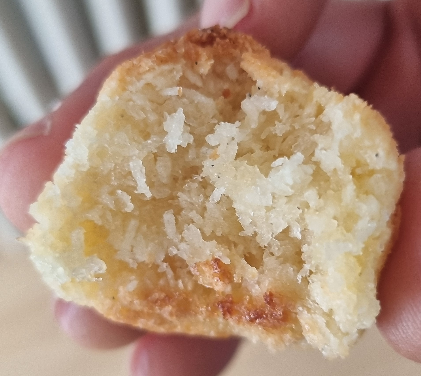
The ones from my hometown are more spongy, mine are a bit too dense.
The color and share were good (still far from the real ones) and the taste as well was not close to it. Still you can enjoye them with a nice hot chocolate 🙂
I haven’t tried in a while so yesterday was the day. This hit the spot.
Simple ingredients and good result. Although I struggle when recipes use “cup” measures…. I did a smaller batch (two cups and one egg) and my batter was too liquid compared with the video, so I will have to try again.
Dry Ingredients
3 cups of flour
1/4 cup sugar
1 1/2 tsp salt
1 tbsp baking powder
1 1/2 tbsp baking soda
Wet Ingredients
2 1/4 cups milk
1/4 cup vegetable oil
1 tbsp vanilla extract
1/4 cup apple cider vinegar
3 eggs
Frying
Butter or coconut oil (I guess whipped salted butter, is just buying salted butter and whip it?)
Process
Mix all dry ingredients in one bowl
Mix all wet ingredients in another bowl
Pour the wet mix into the dry bowl and mix a bit, dont overdo it.
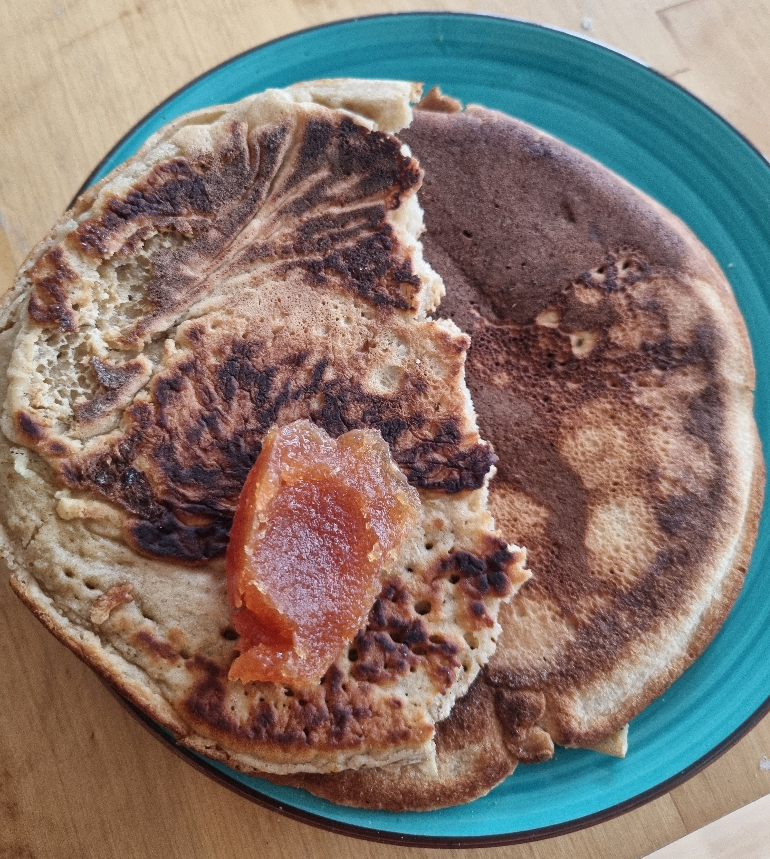
This is the difficult part. In a hot pan (at mid-heat), use the butter or oil for frying. I used a small frying pan so I just did one big pancake at each time. Wait for the edges to by brown/fried. Dont stir. Once you see (several) bubbles on top, then you can flip the pancakes (I had to add a bit of oil to avoid burning)
I made 6 pieces. Dont look amazing but tasted really good. So can’t complain