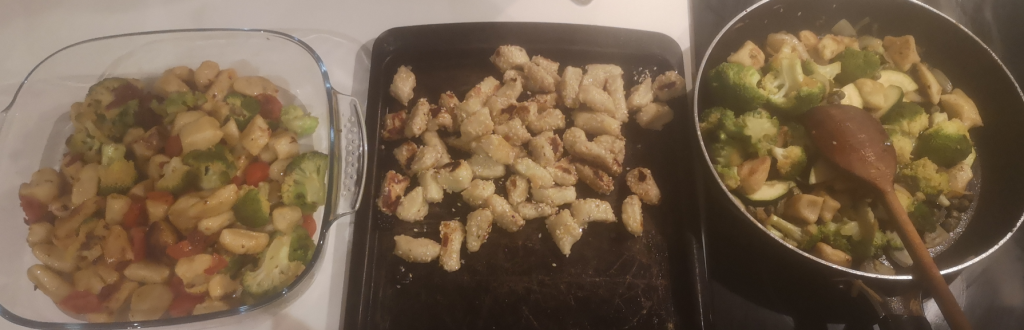
A couple of weeks ago I fancied gnochi. I have already done it before but this time I went free style and I did something from this video. Fry the gnochi for a bit to give them a crunchy texture.
As I didnt calculate properly, I made a massive potato dough so I tried three different methods with ingredients I had at hand.
Ingredients:
4 potatoes (that’s a lot)
1 egg
plain flour
salt + pepper
olive oil for frying
version 1
sun dried tomatoes
broccoli
fresh baby tomatoes
version 2
sesame seeds
just a bit of soy sauce
version 3
broccoli
courgette
capers
I was quite happy with the result so I will try similar version or will experiment with anything I have around.
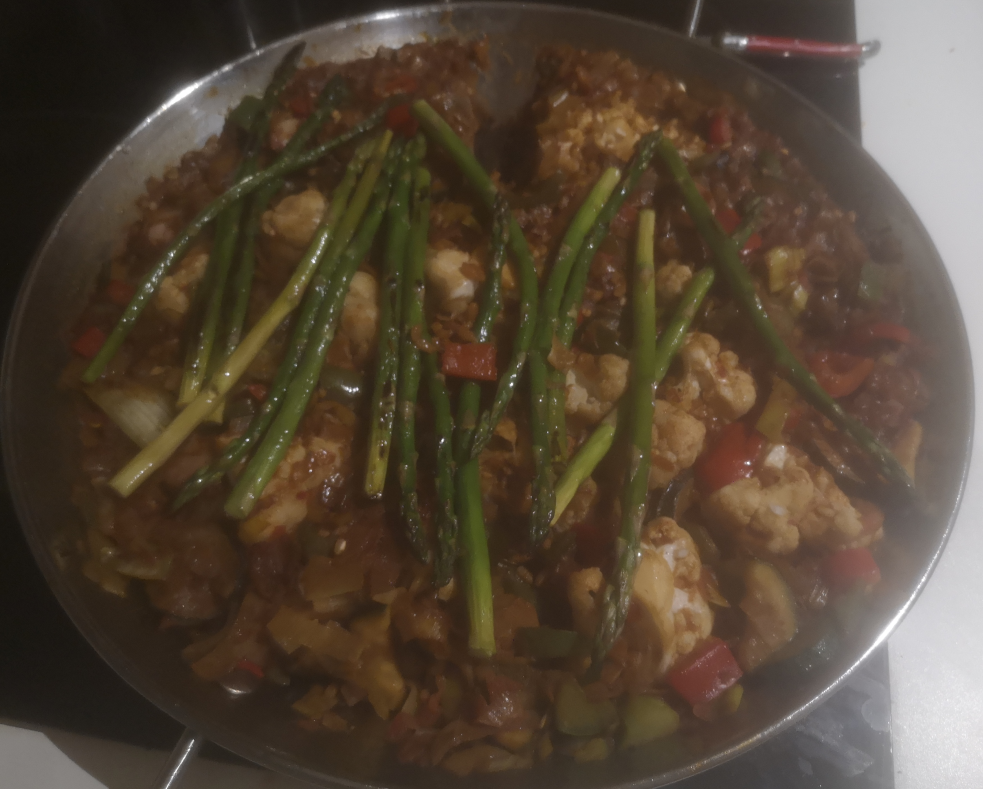
After dealing with too much meat lately, I fancied some vegetables and specially a paella. So I decided to do a paella with only veggies last weekend. I found this video that I liked but at the end I went a bit wild as I stopped paying attention and I didnt have fresh artichokes.
Ingredients:
1 big leek (instead of artichokes) sliced
5 garlic cloves (with skin)
1 bunch of asparagus
2 onions
1 glass of white wine ( I used red)
3 tomates grated
paprika
1 carrot diced
1 red pepper + 1 green pepper
1 courgette
1 cauliflower
1/4 glass of soy (dark) sauce
1 stock veg cube + 1 .5l boiling water
1 cup of paella rice
Process:
Heat up the paella dish, pour a gulp of olive oil once it is hot.
Fried the garlic gloves a bit. Then add the asparagus.
Once they are fried a bit, retire to a dish.
Put the paella at low heat now.
Fried the leek with the same oil in the paella dish. Till taking color.
Then add the diced onions. Add salt and pepper. Stir all of them until taking some color.
Add wine. Stir until it evaporates mostly.
Add the tomate, mix well. Add paprika. Taste it!
Add the carrot, peppers, courgette and cauliflower. Fry for a bit.
Add the soy sauce. This will add quite a salty taste.
Add the stock veg cube with the boiling water. Stirr all well.
Add the fried garlic.
After 3-5 minutes, add the rice. Spread the rice all around the dish.
Dont stirr anymore. Increase the heat.
Wait until the rice starts to come up on top.
Try to move the paella dish so the water evaporates evenly.
At the end you want a bit of a crust on the bottom (socarrat!!!)
Once it is ready, put the asparagus on top.
In my case, as I used leeks, they can burn very easily but I was luck and it was just a bit.
It looked nice from outside. I had a bit of socarrat. And tasted good! Maybe the dark soy sauce was too much dark 🙂
I have two very good memories from my childhood regarding to food: baking at my mother’s hometown and making chorizos.
Last winter I managed to go back to the bakery and refresh those memories. I am super happy I did it.
Now it was the turn for the chorizos. But I was cautious about this so I join a course for making sausages from a well-know company so I could get some intro and refresh.
The process that my mother followed was very simple. Ground a ham (by my parents best friends who were butchers), salt, (sweet) paprika and I think some garlic. Mix all together very well. Fry a portion of the mix to taste the spices. Then using pig’s intestines with a sausage filler/stuffer, make the crorizos. Then using a cord, make the portions. Finally, hang them and let then dry for around two weeks.
So in this course we made only sausages with different spices but the process is the same as chorizo, only the spices change.
I enjoyed the course, I brought some flashbacks from my childhood about mixing the meat, stuffing, tasting the mix (that was super delicious!!!!) and then the patience to let them dry. These were the only chorizos I liked. Anything else, was tasteless or had too much fat.
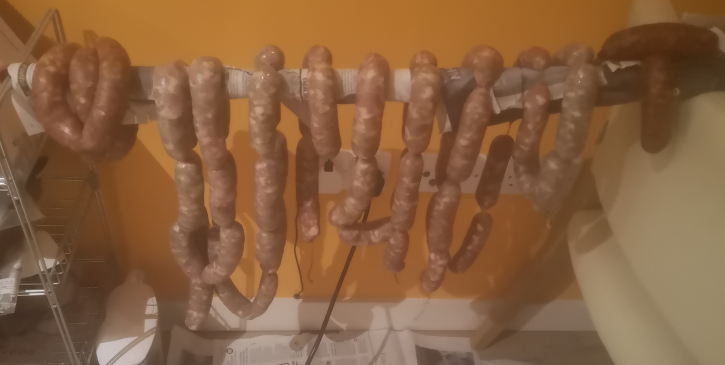
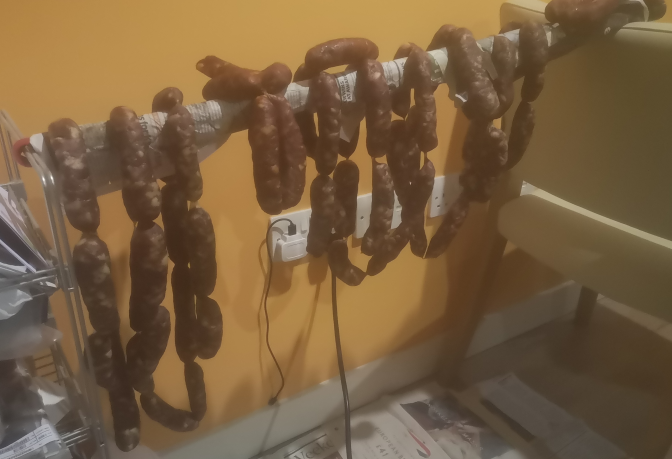
So I brought home several kilos from the course. I some some for cooking my week lunch and frozen others for another occasion. But most of them, I decided to dry them like my mother used to do. I felt so humble when I saw the result. It was like back home.
So I kept the sausages hanging from a sweeping stick wrapped with newspapers. Out of direct day light and using a heater at night while I was at home. For two weeks.
And they came out fine!
Although, they have too much fat. They are not chorizos, it is more like small salchichon.
As they are too manhy for me. I am keeping them in glass jars. They will not last many months though. But use to eat them quickly and cry when some chorizos went off. I was thinking in put them in oil but I wanted the dryness.
This reminds me biltong. Very similar idea, but I havent tried in a couple of years.
So I am happy with the experience and I am decided to make properly chorizos next winter. Try to call the butcher where I did the course, tell them I want to buy a minced ham (with very few fat, I dont care what people say) and the intestines, then do it at home like the old times.
This is another typical sweet from my hometown I like a lot and it was in my to-cook list. After several failed attempts with magdalenas, I decided finally to give it a go. I had good memories from last December in the bakery so I followed a recipe from my aunt and see.
Ingredients:
3 large eggs
200gr sugar
170ml olive oil
1 lemon zest
4gr bicarbonate sodic + 4gr tartaric acid
400gr-500gr+ plain flour
Process:
Whisk eggs and sugar very well. Until the mix is foaming
Add olive oil and lemon zest. Keep whisking
Add bicarbonate and tartaric acid, keep whisking
Add flour, shifting it, bit a bit into the mix.
Pre-heat oven at 200C
At one point, you will have to use a wooden spoon to keep mixing. This is a critical point. I added the 400gr of flour, and the mix was still too wet so I keep adding bit a bit more flour until I had a dough no too sticky. Keep in mind you need to be able to use a roller and a cookie cutter. So at one point, I pour the dough into the table and tried to knead it adding bits of flour. I was lucky because I had some flashbacks from I was a kid doing the same thing so It helped me to carry on until I had that kind of playful dough but still a bit sticky. If you add too much flour, the biscuits will be hard as stone.
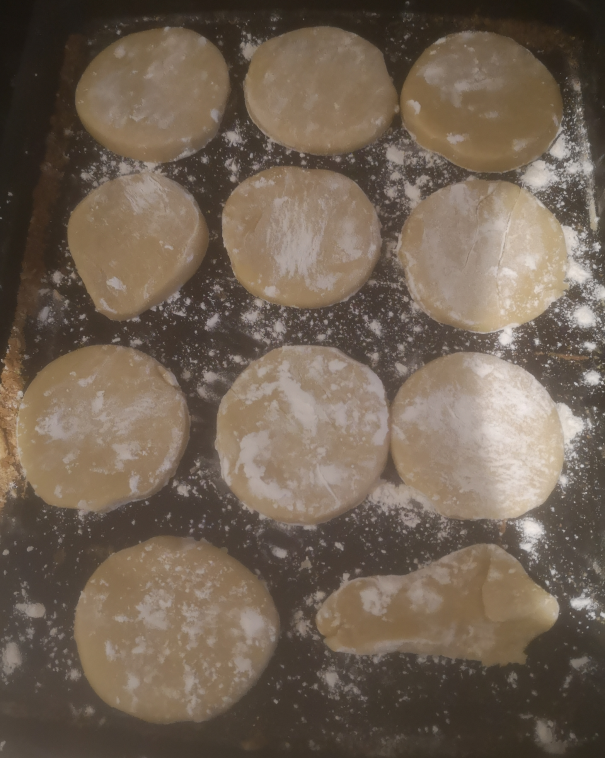
So once you have the dough ready, use a roller to spread the dough around 1cm thick and use the cookie cutter. In my case it was a round one, in my hometown use a rectangular one with round corners. I may try to “build” something.
So always putting flour in the surface before spreading the dough with the roller. Use the cutter, and transfer the biscuit to a baking tray with a bit of flour to avoid sticking. When you use the cutter, the biscuit can’t be too sticky, if so, you need to add a bit of flour.
Once you can’t cut more cookies, form a ball again, and a bit of flour in the surface and roll it. Cut and repeat until you use up all dough.
Bake the cookies until golden on top. 20 minutes or so.
Let them cool down, it is very important!
This is before getting to the oven.
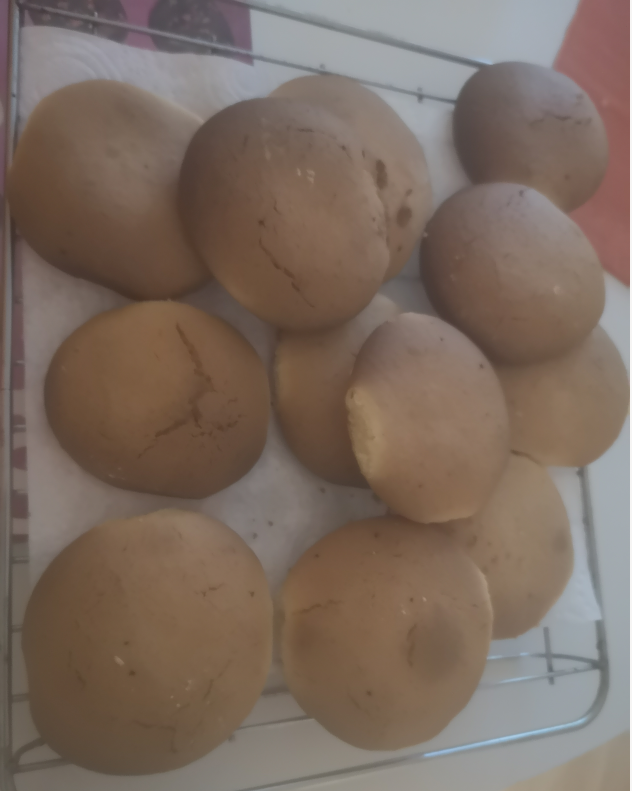
This is after the oven.
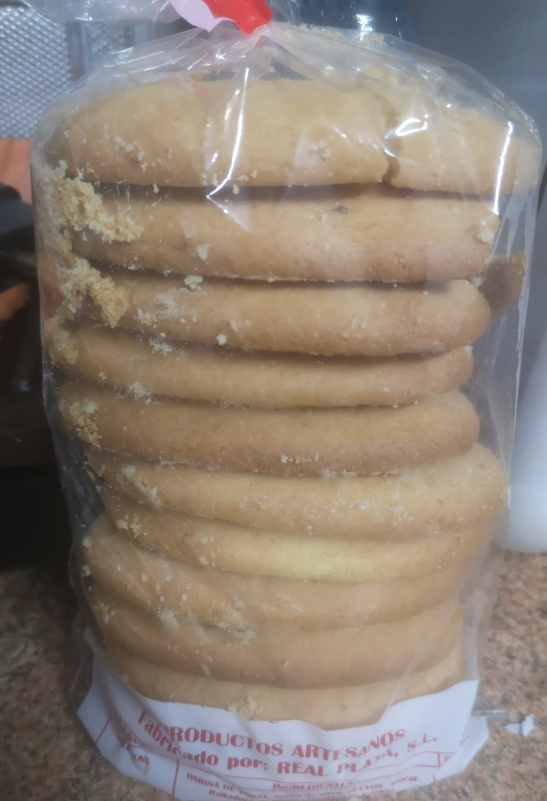
And these are the real ones I try to match!
They dont look very similar but still I was quite happy with result. For being the first time, it was tasty! I could add more sugar?, maybe a bit less time in the oven?
It is a simple recipe, basic ingredients, and brought me good memories. What else?
And this is a snapshot of how it is really done by the real bakers!
This is a recipe that a very good friend recommend me but using smoky tofu instead of bacon. So I decided to give it a go:
Ingredients:
1kg of fresh spinach
1 onion
3 cloves of garlic
250g of smoky firm tofu
150g of cheese (of your taste)
1 cup of rice (paella or risotto style)
1 can of tomate sauce
200ml of cream
1 cup of chicken/veggy stock.
1 cup of plain flour
3-4 eggs
Process:
In big sauce pan, add boiling water and cook all spinach. They will reduce a lot. Once they are soft, drain the spinach and chopped them very thinly.
In another sauce pan, add some olive oil and fry for a bit the chopped garlic cloves. Then add the rice. Fry everything for a bit, then add two cups of boiling water to the rice and let it cook at low-medium heat. Try to get it as much dry as possible to hep making the balls later.
In a frying pan, add a bit of oil, at medium-heat. Add chopped onions, and fry until golden, then add chopped tofu. Fry everything, try to get a golden color from the tofu.
In another frying pan, add the tomate sauce, stock and cream. Mix well, and let it cook at low-medium heat.
In a big bowl, put the chopped spinach, rice, tofu and cheese. Mix everything very well. Make you a big favour, let it cool down! Put it in the fridge, outside, whatever.
In one plate/bowl add the flour and in another the whisked eggs.
From the spinach mix, start making some balls, then pass them through the flour, cover properly, remove any excess and the pass through the eggs. Prepare all balls before frying. If you let the mix cool down, it shouldnt be much effort, and then frying would be easier.
In the small frying pan, some a bit of oil and heat up. You dont need to deep fry.
Then in the small frying pan, put 3-4 balls and fry them until golden in all sides. Them add to the tomate sauce mix.
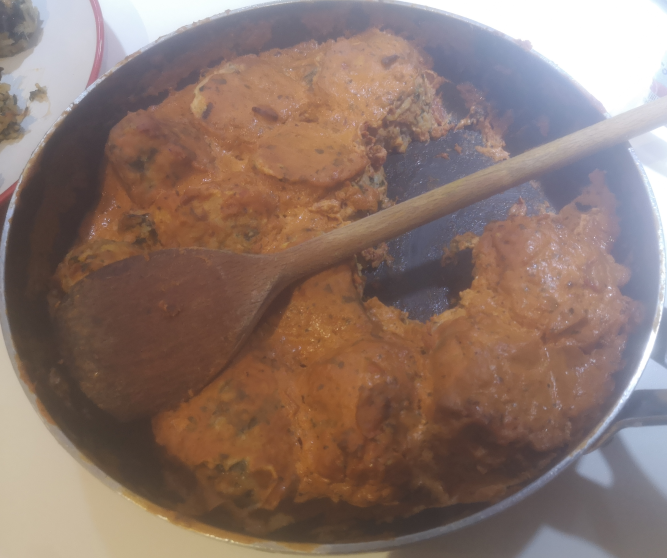
I filled the tomate sauce pan with spinach balls, so I used the left over and did some other balls and “omellete”.
Keep the spinach balls in the tomate sauce until it thickens up a bit.
Then you can remove from the heat, and ready to eat!
This is the day after. I put the pan in the fridge overnight.Leftovers
The recipe is very tasty. I didnt manage to get a good ball form, I think my rice was a bit too wet? In the video the balls look super rounded. But anyway, I had a good lunch the whole week!
It was normal to have a small snack or tapa in most bars in Spain, from a small plate of crisps, salty peanuts or fried almonds to some seafood. Even buying a 1kg sack of almonds, hazelnuts, walnuts wasnt that expensive.
Now, when I go to Portugal or Spain, I try to buy some small bag of fried almonds. But now I wanted to do it myself because I had the gut feeling that it couldnt be that difficult. I found this video and I used it as reference.
Ingredients:
200gr almonds (with skin)
pinch of salt
olive oil for frying
Process:
Put the almonds in a sauce pan with boiling water. Boil for 5 minutes.
Remove the almonds from the water, let it cool down for 1 minute and then remove the skin. It should be quite easy. Recommended to push with your fingers from the side of the almond, not the tips.
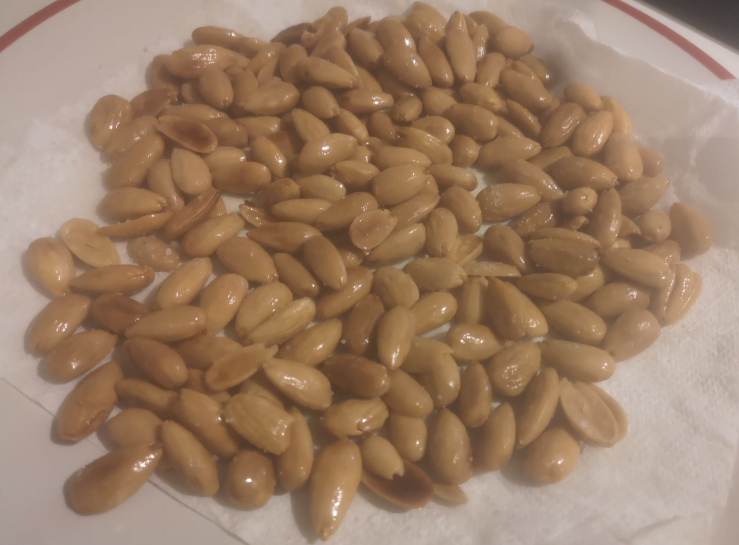
Dry them in kitchen paper.
Put a frying pan at medium heat with the oil. Once the oil is hot, add the almonds and kit stirring.
Once the almonds get golden, remove the pan from the heat and take the almonds for the oil, trying to drain as much oil as you can. Then put again in kitchen paper to soak up more oil.
While warm, add salt to the taste of the almonds.
Once they are cool down you can store them in a glass jar.
“Tortas de Mosto” is a typical sweet from “La Mancha” region in Spain. And it is one of my favourite sweets from my hometown. When I was there last December, taking a look at the process of baking “tortas” was one of my (many) goals. I didnt get the recipe but noticed ingredients that I wasnt aware like using bread starter.
Another thing, in my hometown, didnt use Mosto, I think they do it only in Summer. So they used good orange juice instead.
Although I could remember nearly all ingredients, I wasn’t very confident, so I searched for some video without many expectations but lucky me I found this! Thanks to Cristina!
To be honest, I have tried twice. The first attempt wasnt really good. I over fermented the dough…. and I forgot to add sugar!!!! Somehow I didnt notice that “step”. It makes sense, mosto is very sweet and orange juice is not that sweet.
Ingredients Bread Starter
100ml water
150g plain flour
7gr dry yeast
(need to try to add 1 tsp of sugar next time)
Process Bread Starter
In a small bowl, mix the yeast with water, then add the flour.
Be sure everything is well incorporated, make a ball with the dough. You dont have to knead it.
If you are going to make “tortas” next day, cover it and put it in the fridge. If using during the day, let it rest for 2h or until it doubles up in volume
Tortas Ingredients (8-9 tortas)
Bread Starter
250ml good orange juice
250ml good virgin olive oil
7gr dry yeat
150gr sugar
zest of one lemon
1 shot of anís / sambuca
2 egg
600gr plain flour (maybe strong flour next time) – You dont have to use all flour.
Finish touch: 1 mixed egg + sugar
Tortas Process:
In a bowl, mix the orange juice, olive oil and sugar. Then add the yeast. Combine everything well. Add bread starter and mix again. It doesnt have to disolve.
Add half of the flour or so, mix a bit. Add the egg and lemon zest (and anise). Mix and keep adding more flour. Try not to use all flour.
Pour the dough into the table and knead for 15-20 minutes or so until the dough is smooth and doesnt break when trying to make a window. Add a bit of flour if need but it shouldn’t stick much as the dough has olive oil.
Leave the dough to rest for 1 hour or so until it doubles up in size.
Knock off the air of the dough, make a ball again.
Prepare to baking trays. You can spread a bit of flour or use baking paper on them.
Pre-heat oven at 175C
Now make small balls of 170g each (using an scale) from the main dough. So you have similar size tortas. I managed to put four balls per tray. Leave as much space as possible between them.
Once you have all balls in the tray, you need to flat them using your fingers going by the sides of the ball. Until you have a kind of big disc.
Cover the trays and leave them to rest again around 30-40 minutes. They should raise again.
Whisk one egg, wash the top of the tortas that are going to go to the oven now (just one tray). Then add plenty of sugar on top of each torta. Be sure the egg doesn’t get to the bottom so it doesnt stick!
Bake for 25 minutes or so. They need to be dark golden! Let it cool down and repeat the process with the second tray.
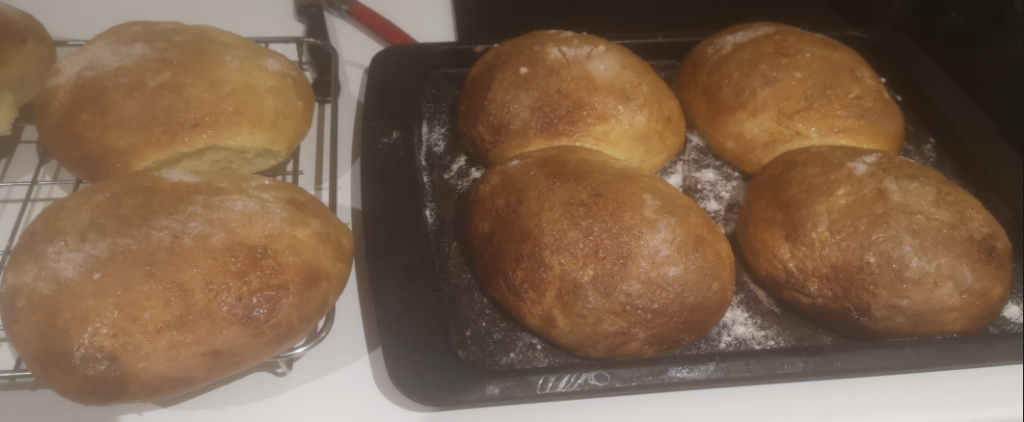
Before baking
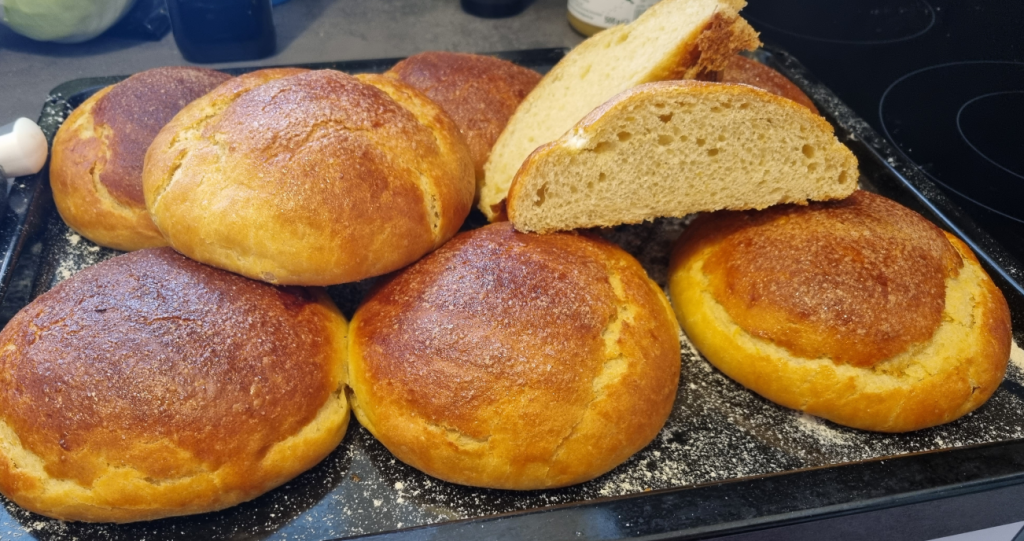
After baking
To be honest, they were great compared with my first attempt. They are not like the ones from my hometown but they are really good enough. I enjoyed a warm torta for dinner last night, heaven!
I think I can improve it like adding a bit more sugar or another egg, etc.
Let’s see for the next attempt!
This is my last attempt: 231118
I have updated the recipe. I added two eggs, 1 shot of sambuca, and didnt flat the tortas. They raised (not as much as the real ones) but they cracked. The texture is better but still no that spongy. As well, not sweet enough. I added 100g sugar, next time 150g. The kneading was a long one but I think it was good at the end.
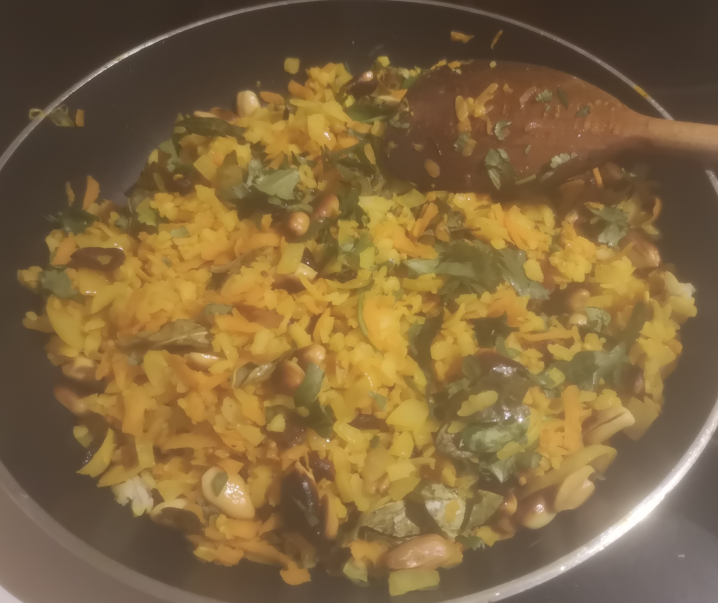
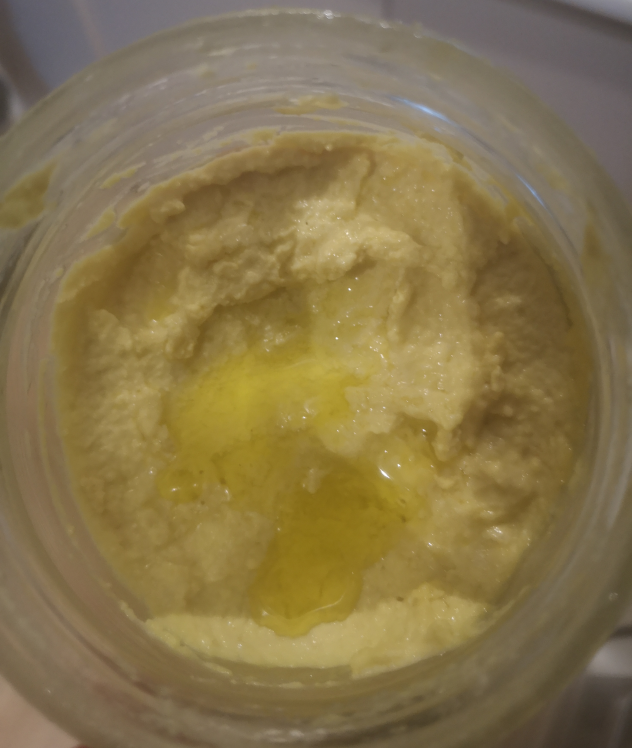
After watching this video, I decided to make my own tahini as I used it for Baba Ganoush and Humus. So I bought a 1kg bag of sesame seeds and got with it. To be honest I made a couple of mistake. Firstly my blender is not very powerful so I should have used less sesame seeds and secondly, I got confused and I added water too. At the end I improvised a bit, adding water, olive oil and a bit of tumeric. I didnt get the super liquid tahini from the video but still my paste was eatable. I used for baba ganush and it was tasty!
And…. is better my homemade tahini than the store one? To be honest, they are so different, yeah, flavour is similar, maybe more “sesamy” in the homemade. I am not a tahini expert at the end of day but I prefer the homemade, I just know it has two ingredients.
Ingredients:
1 cup (or less) of sesame seeds
olive oil
optional: 1 tsp tumeric
Process:
Toast the sesame seeds in a pan for 4-5 minutes, until the start to sweat and get a bit brown.
Put the hot sesame seeds in the blender and start to mix until it forms a paste and the blender can’t do anything else. Add olive oil bit by bit. In my case, I had to add much more liquid and I added spoons of water too to get to a creamy state. Optionally, add the tumeric.
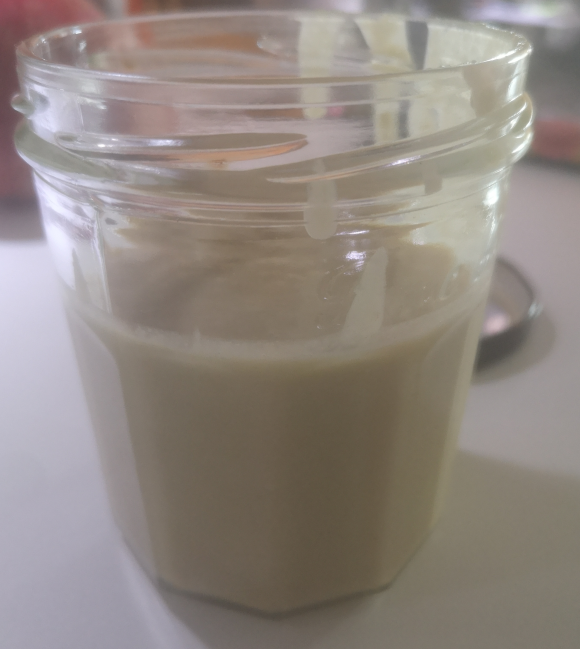
Pour the tahini into a clean (with boiling water) crystal jar.
Add some olive oil on top to avoid oxidation. Keep it in the fridge.
Second attempt. Much better! Don’t add water!!!! Tumeric is still quite optional.
For NYE dinner, I planned a vegan menu for a couple of friends. I found this video about vegan chicken based on wheat gluten or seitan. I didnt know that product but checking online it was esay to find. I liked the recipe because it was quite complete with the mushroom sauce and creamy potatoes. All the efforts go to the author in the videos.
Vegan Sausage Ingredients:
1 cup of soy milk
1/2 cup of mixed dry mushrooms
2 tsp dried onion
2 gloves of garlic minced
1/2 cup vegetable stock
150g firm tofu
3 tbsp white miso paste
2 tbsp maple syrup (+ 2tbsp for frying)
1 tsp cayenne pepper
2 tbsp tahini
2 tsp dried sage (*I am not keen of dry thyme)
300g wheat gluten / seitan.
Vegan Sausage Process:
In a blender mix all ingredients but the seitan.
Then add the liquid mix to the seitan.
Knead for 15 minutes. I was surprised how spongy was the dough! It wasnt very sticky so it was ok to deal with.
Make a roll from the dough, like a big sausage, then cut in three pieces, or more depending how big is your pans.
Wrap each piece with oven-proof baking paper, like a sweet. Then wrap it again with foil.
Depending on your pan, put two or three pieces, cover well with water the sausages, heat up the water and let it simmer for 90 minutes.
Let is cool down. Remove the foil. At this point, you can keep them in the fridge. For using a different day or carry on.
In a hot saucepan, put 2 tbsp of maple syrup and fried a couple of sausages until the surface is caramelized.
Then put in a pre-heat oven at 220C for 10-15 minutes.
Remove from oven, let it cool down a bit and ready to eat!
Mushroom Sauce Ingredients
250g sliced chesnut mushtooms
2 red onion
Splash of red wine
Salt + pepper
120ml soy cream
Mushroom Sauce process:
In a hot saucepan, add a bit of olive oil, mushrooms and onion. Add salt and pepper.
Once the mushrooms start taking a golden color, add the alcohol. Wait a little bit until it vaporizes.
Add the soy cream. Mix clean for a couple of minutes.
Remove from the heat and serve with the sausages.
Creamy Potatoes Ingredients:
1 can of coconut milk
1 cup of soy milk (use the coconut can)
2 red onions chopped
5 cloves of garlic, minced
1 tsp oregano
2 tsp mustard
2 tsp say sauce (or nutritional yeast)
salt + pepper
5 potatoes
Creamy Potatoes process:
Put all ingredients apart from the potatoes in a pan, heat up at medium heat. Let it simmer.
Pre-heat oven at 180C
Slice the potatoes as much thin as possible.
Add the potatoes to the sauce. The sauce should cover all potatoes.
Let it cook them for 5 minutes or more so the sauce starts to thick a bit.
Pour the potatoes mix in a ovenproof dish. Cover with a bit of baking paper. Put in the oven for 20-25 minutes. Then remove the paper and let the top to caramelize (I had to change the oven setting to grill).
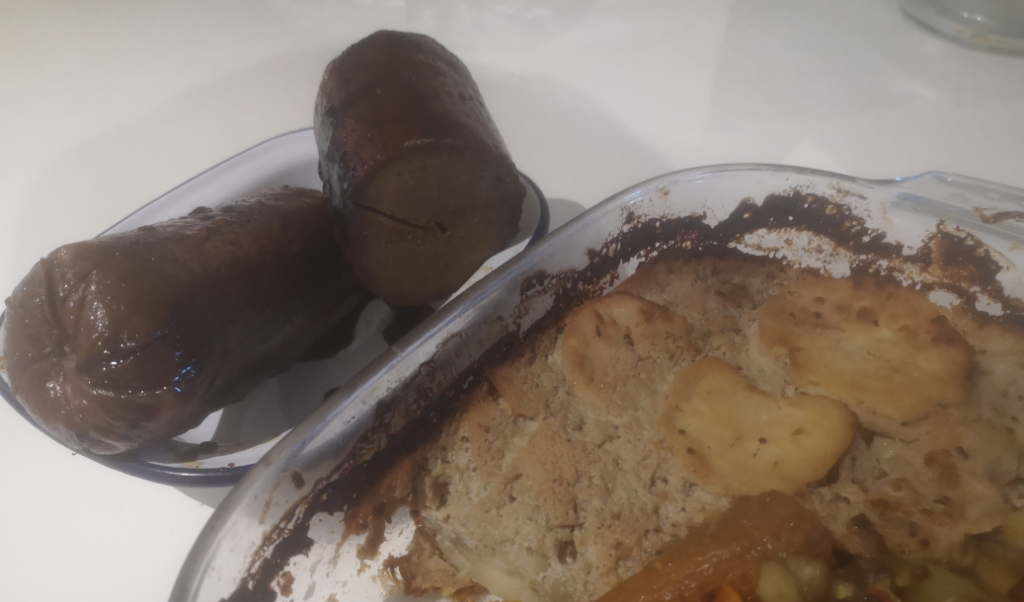
Remove from oven and sever with your mushroom sauce and sausage!
Although the picture doesnt look great, I have to say the sausage was tasty (it didnt taste like chicken) and the potatoes very creamy. I didnt like much the mushroom sauce because the thyme (so I have removed it from the ingredients 🙂