I had squid ink leftover and while on holidays I saw in a restaurant a dish of squid ink past that looked very good so I decided to try. And this video looked like a good recipe.
Ingredients for pasta:
- 100g 0.0 flour
- 1 free range egg
- 1 tbs squid ink for pasta
Process for pasta:
- In a crystal bowl, make a heap with the flour and then a hole in the middle where you crack the egg and add the ink
- With a fork start mixing the egg with the flour from inside the circle to the outside.
- In a work surface, cover it if you can with baking paper, and knead the dough. Keep in mind this can stain your surface kitchen and/or your hands.
- Knead until smooth. Dont add flour.
- Cover the dough with film and let it rest for 30 minutes
- Rolling the pasta manually is quite hard. Use a rolling spin and flour. Try to flat as much as you can the dough.
- Once it is spread enough, with a shark knife try to make spaguetties.
- With plenty of flour to avoid to dry out, leave the pasta in a tray.

Ingredients for sauce
- 1 can of tomate sauce
- 1 onion chopped
- 1-2 gloves of garlic
- drizzle of white wine
- 2 tbs squid ink
- 400g frozen squid
Process for sauce
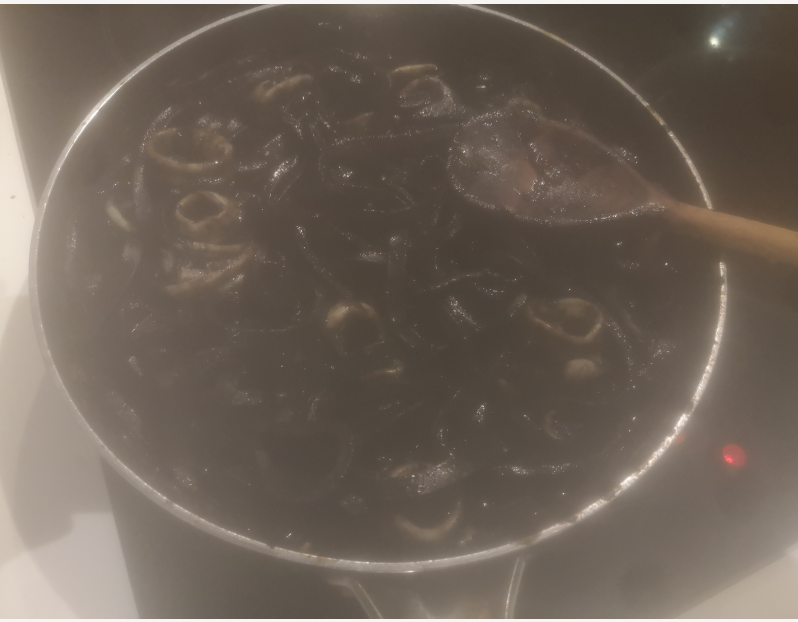
- In a hot pan with a gulp of olive oil, cook the onions
- Add the minced garlic and cook with onions. Avoid burning them!
- Add squid. Cook it through!
- Add a splash of wine
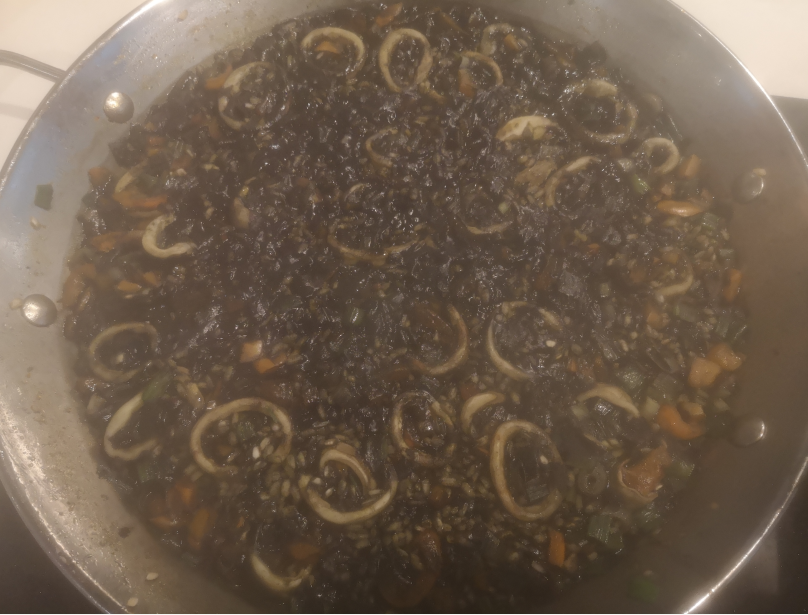
- Add the tomate sauce and stir
- In a pan with boiling water, put the pasta for 90sec.
- Add squid ink to the tomate sauce and mix
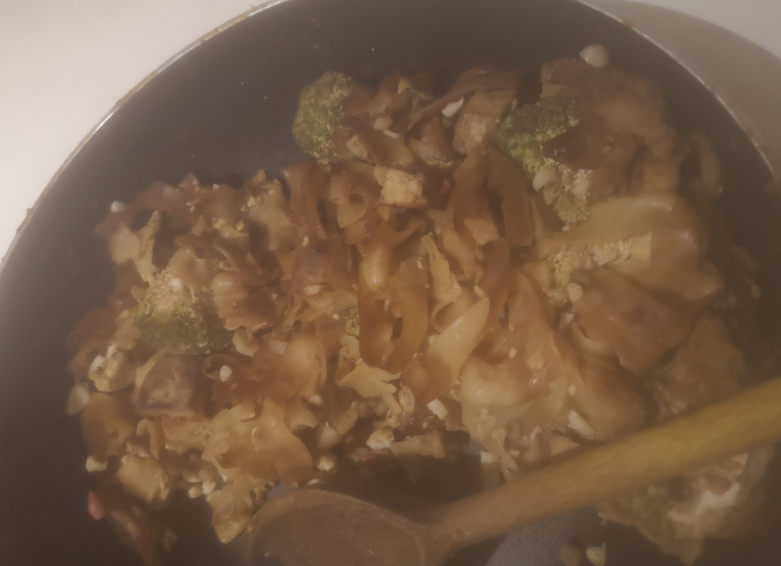
- Add the pasta and a bit of pasta water in the tomate sauce
- Mix all well.
- Ready to serve!
To be honest, my pasta was too thick 🙁 but it was tasty enough. I dont cook homemade pasta too often so maybe it is one of the reasons. I dont want to buy another machine just for pasta though.
Anyway, it was nice to try!