For NYE dinner I wanted to try something different from my standard vegan cherry frozen cake so this recipe looked nice.
Ingredients for caramelized pears:
- 6 small firm pears (conference are good)
- 200g caster sugar
- 2 cinnamon sticks
- 1 star anise
- 6 cloves
- 1 lemon zest
- 1 orange zest
Ingredients for sponge:
- 250g pitted dates
- 1 tsp chia seeds
- 1 can of coconut milk
- 200ml sunflower oil
- 160g dark muscovado sugar
- 200g self-raising flour
- 1 tsp bicarbonate soda
- 1 tsp ground mixed spice (I used Chinese)
- pinch of salt
Process:
1- Peel the pears, cut the bottom off each to give a flat base. With a small knife, try to cut the pips/heart from the base. Roughly chop these scraps and discard the seeds as are not sweet. Set aside for later.
2- In a saucepan where all pears can fit, pour sugar, cinnamon sticks, star anise, cloves, zests and 600 ml water. Bring to a boil, then simmer and add the pears. Cover the saucepan if you can. Poach them until a knife easily slides into the pear. Around 25-30 minutes. After that, remove from heat and let the pears cool down in the liquid.
3- Put chopped dates, chia and coconut milk in another saucepan. Bring to medium heat, stir often so the milk doesnt stick in the bottom. Check the dates get soft.
4- Pour the date mix into a food processor and blitz until smooth. Add oil and blend again. Let it cool down.
5- Pre-heat oven at 175C. My bakin tin is 32x22x5 cm. Line it with baking paper.
6- In a bowl, put the sugar, flour, bicarbonate, mixes spice and pinch of salt. Mix all well by hand. Be sure there are no sugar lumps.
7- Add the date mix to the flour. Mix with a spatula all together. Add the pear scraps.
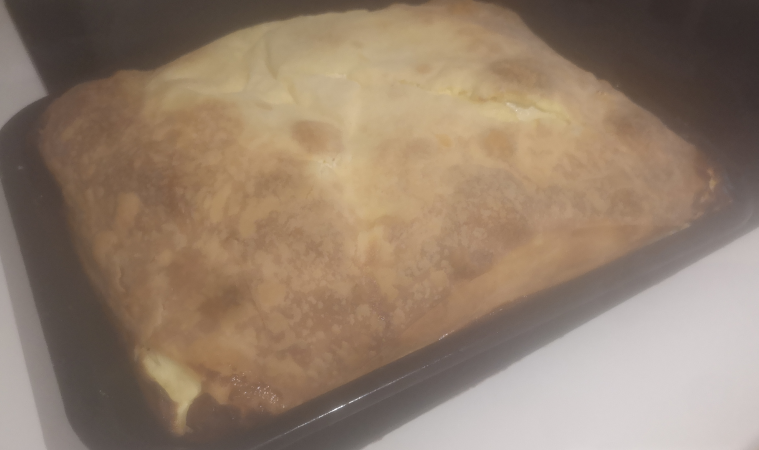
8- Pour the mix into the tin. Nestle the pears, standing up right. Bake for 35-40 minutes. Remove from oven only if a skewer in the center of the cake comes out clean.
9- Try to reduce the pear poaching liquid to a syrup (I couldnt).
10- Once the cake is out of the oven, with a brush, pour a bit of the syrup on top. Then let it cool down a bit.
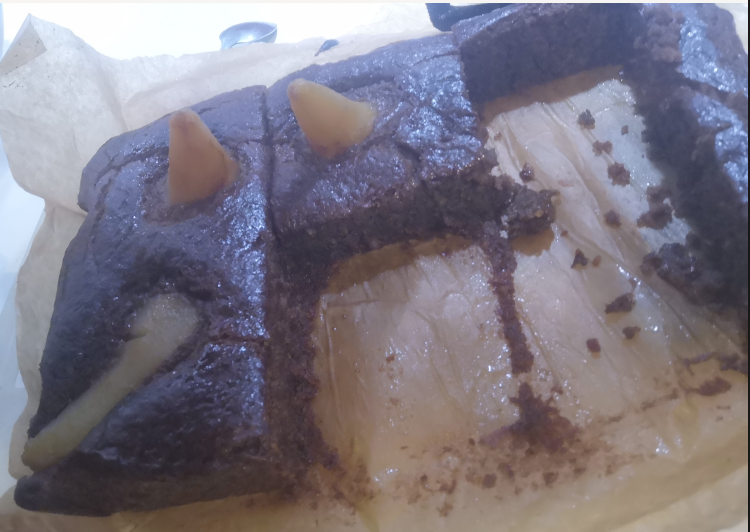
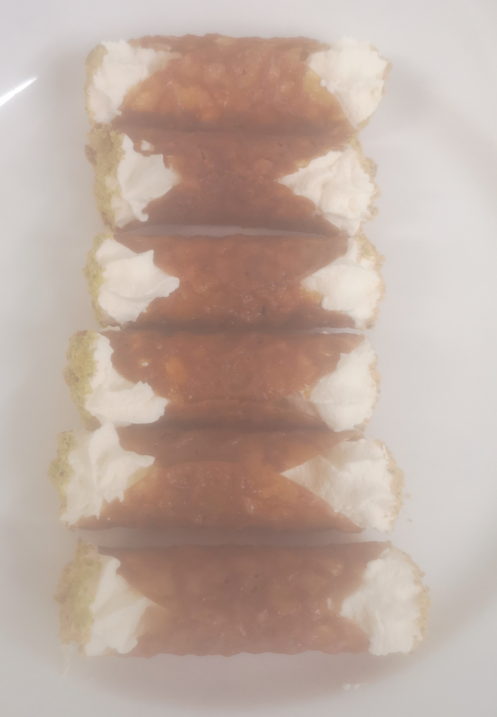
11- I cut mine in six parts to be sure everybody had a piece with pear.
I haven’t tried a sticky toffee pudding from a long time. This one didnt remind me much but it was really tasty nonetheless. So happy with the result. And my friends too!