If you have some popcorn around, worth using with this.
Today I Learned
This is the last book from the original Dune series. Thinking of the first books, looks like a different world although there are references to the beginning. The end is quite open so you can think this is can continue in more books as with the time there is always a new plot/drama. Although there are many things I dont understand. The couple of “Face Dancers” in contact with Duncan? I like the references to Van Gogh pictures like “Thatched Cottages at Cordeville“.
I would never think that Duncan would be present in all books and being a critical character.
But at the end, all is about love and the repression of it like Bene Gesserit do.
And quite moving the last words from the author about his wife death.
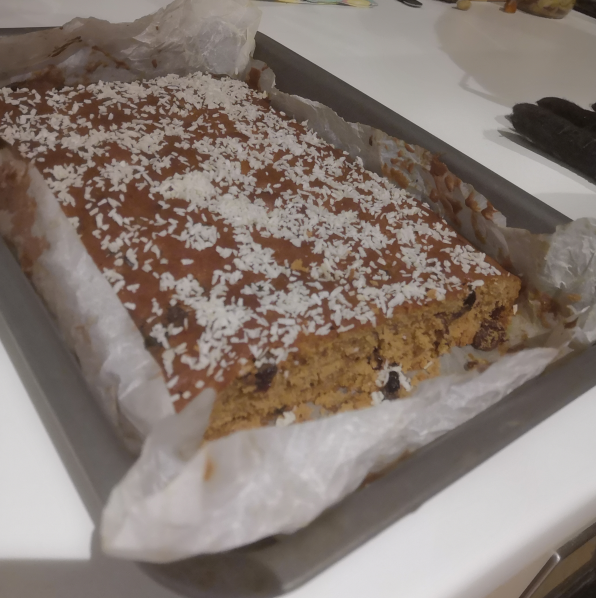
This is a typical Southern Portugal cake that I tried two Christmas and quite liked as looks simple and tasty. So finally this weekend was the time to try this recipe.
Ingredients:
Process:
Result:
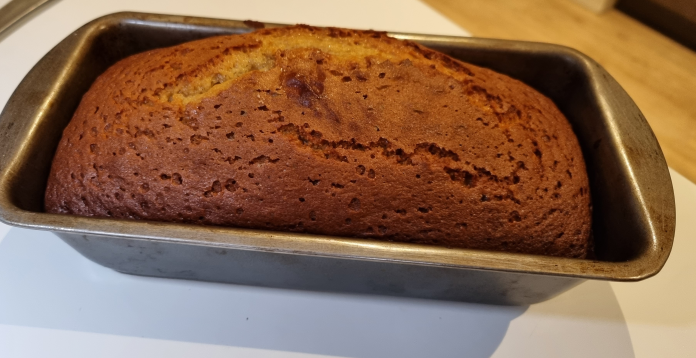
It raised more than I expected. It wasn’t as moist as I remember but it was tasty. Based on the ingredients reminded me of a olive-Greek cake I did some months ago.
I checked other recipes like this so maybe I will try again at some point.
Somehow I came across this company that provides some crazy numbers in just one rack. Then again nearly by coincidence I show this news from an email that mentioned “cerebras” and wafer-scale, a term that I have never heard about it. So found some info in wikipedia and all looks like amazing. As well, I have learned about Gene Amdahl as he was the first one trying wafer-scale integration and his law. Didnt know he was such a figure in the computer architecture history.
Lemon zest garnish ingredients:
Process:
Lemon Pudding souffle ingredients:
Process:
Fresh egg custard sauce ingredients:
Process:
Presentation:
This is it!
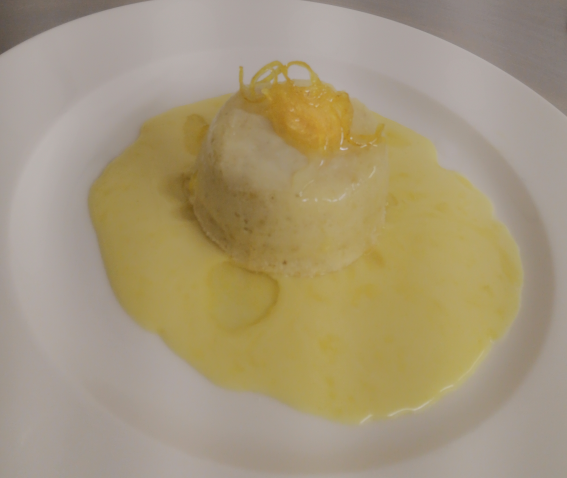
It was actually quite nice. Spongy and lemony.
This is a typical Scottish cake and I learned today via an e-course.
Ingredients
Process:
It taste a bit like a Christmas pudding but lighter. I liked it!
This is an interesting book about the flooding of data we need to go through and the difficulty to figure out what is true or not. And I feel it many times you read something “scientific” with many numbers, stats, etc and you kind off believe that has to be true. And those new pharmaceutical drugs that are so amazing or latest paper with a dramatic breakthrough.
Interesting points:
With the hype about machine learning, understanding the algorithm may be out of our understanding but the critical thing is the training data fed into that algorithm. GIGO = Garbage In, Garbage Out. Because the training data is “biased” or not relevant, imagine how is going to be the result.
Correlation is not causation. This is a difficult topic becase we see very easily causation everywhere or find one that matches our theory.
Goodhart’s law adapted to normal people: “When a measure becomes a target, it ceases to be a good measure”. That’s so true. Think of your performance review at work, the GPU tests, etc.
Regarding the stats, it is important to pay attention to the axis: start at zero? same proportions/scales?, be mindful of 3D stats, “ducks” decorate or obscure the meaningful data,
If it is too be good to be true/false, then it isn’t.
“mathiness”: formulas and expressions that look like “good” math but they lack logical coherence and formal rigor. This is very typical for things that are not really easy to quantify (ie healthcare quality management), how things are measured?, unit? etc
One of my favourite examples is the paper about the fMRI on the brain of dead! salmons when showing picture of people showing different types of mood. This was important to clarify that MRI images maybe are not as perfect as you expect. I assume that nowadays that has improved….
Prosecutor’s fallacy: You need to prove you customer is innocent although there is DNA match in a database. There is an error rate of 1 in 10,000,000.
| Match | No Match | |
| Guilty | 1 | 0 |
| Innocent | 5 | 50,000,000 |
You are the defence prosecutor and you want to focus in the left column (blue). That means that there are 5 chances out of 6 (5+1) that your client is inocent having a DNA match.
p-values: null hypothesis and alternative hypothesis. Most papers are based on a p-value of 0.05 (now you have Goodhart’s law)
Refuting Bullshit:
I leave a lot of things behind that I dont remember but it is worth the reading (and more than once)
In summary, the goal is to be “smart” sceptic and dont believe everything throw to us.
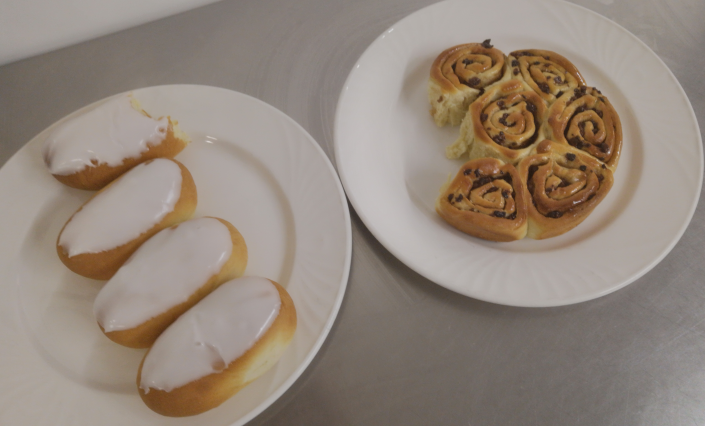
This recipe makes:
2x chelsea buns tins of 22cm diameter
6x swiss buns
Ingredients for the dough:
Filling ingredients:
Glaze:
Process:
Swiss Buns:
Chelsea Buns:
This is the result!
This is a book recommended by a good friend. He had watched some documentaries about octopus and was amazing. So I was curious about it and gave it a go.
The book is not just about octopus and cuttlefish but about intelligence based on the evolution of our nervous systems. It seems the octupus developed their nervous system in a different way from mammals. And even between cephalopods seems to have evolved in more than one way.
Another things I was quite surprised is the life span of the octopus is around 2 years! There is a part of the book quite interesting about ageing. Why are there organism like sequoias that can live over 3000 years and then octopus with a very advance nervous systems only last 2? I need to re-read it again. As per my understanding this is related to the our evolution, we reap the benefits quickly but there is always drawbacks that turn up later.
There were parts were I didnt engage enough but I think it was worth it just for the two points above.
In the last months I have been trying to practice the knowledge from CCNA DevNet and managed to wrote very basic scripts using API.
CML is a simulation solution from Cisco that actually works (you have to pay and need hardware). There are nice docs out there:
CML Starting guide + API examples (this saved me)
CML simulation lifecycle example (havent tried yet)
CML: I actually struggled in this one regarding how to authenticate….. Checking some pages I worked out. I was trying to use the theory from DevNet but no joy. The idea is to restore a lab after you have made many changes. The script log into CML, delete the lab and restore with a provided backup.
Some docs for vsphere api:
Vsphere create session: (quite useful)
vcenter REST API authentication
Vsphere postman examples (need to take a look)
Vsphere: This is even simpler…. at least in this one I didnt struggle with the auth as the documentation was quite clear. But the original goal of restore a VM from a snapshot looks like is not available via API.