I have done this dessert before but this recipe is a bit different in the process. At least I think the result was much better.
Roulade Ingredients:
- 6 large eggs (room temperature)
- 250g caster sugar
- 250g plain flour
- 1 tbsp warm water
- butter and sugar for greasing
- 1 tray + baking paper
- 150g finely chopped strawberries + 20g for garnish
- Mint leaves
Stock Syrup Ingredients:
- 50gr sugar
- 50gr water
Pastry Cream Ingredients:
- 4 medium egg yolks
- 65g caster sugar
- 15g plain flour
- 15g cornflour
- 350ml whole milk
- 1/2 tsp vanilla paste
- Icing sugar for dusting
Chantilly Cream Ingredients:
- 2 tsp icing sugar
- 200ml double cream
- 1 tsp vanilla paste
Process:
- Pre-heat oven at 180C
- Grease the tray (30x25cm), then cut the baking paper to fit the tray. Be sure it stick properly. Grease a little bit the paper too.
- Dust some flour and sugar over the baking paper. Leave a side.
- Beat the eggs and sugar in a large bowl with an electric whisk for 15 minutes. The mix should almost triple in volume, become pale in color and thick enough that will leave a trail when lifting the whisk.
- Sift the flour. Add 1/3 at the time to the egg mix and fold it nicely until all combine.
- And 1 tsp of water and fold.
- Pour the mixture into the tray and smooth the edges with the spatula. Make it as even as you can without touching too much the mix.
- Bake for 9-10 minutes. Lightly golden and just firm to the touch.
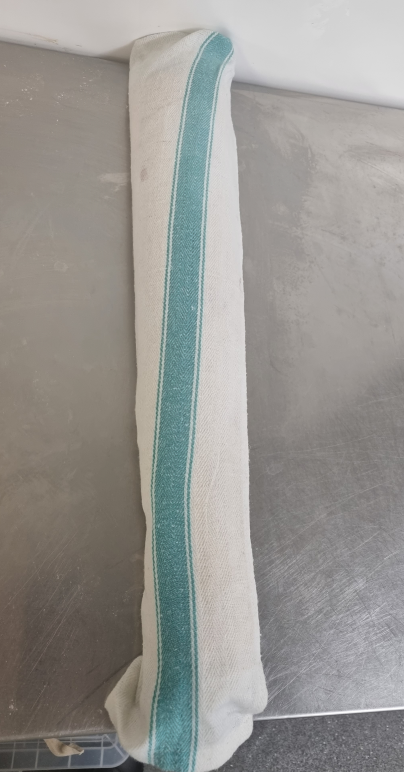
- Lay out a clean damp cloth on your work surface (so it doesnt move). Place a piece of greaseproof paper (a bit bigger than the tray) on top of the cloth. Cover a bit of the paper edges with the towel so it doesnt move. Dust some sugar on top of the paper.

- Once the sponge is ready, turn it out quickly over the dusted paper (topside of the sponge down). Be careful, the try is hot!!!! Peel the paper off the sponge.
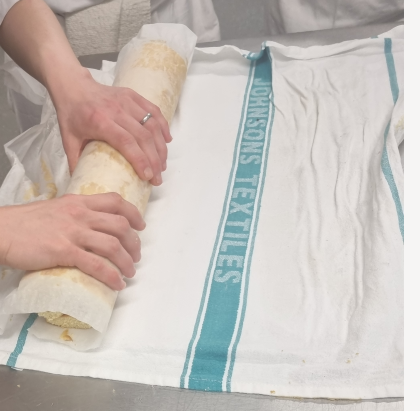
- Start rolling the sponge by the longest side, at the beginning be sure it is tight, use the towel/paper, then roll all the way. Tap the roll so it flattens a bit, let it cool down with the seam in the bottom.
Prepare Stock Syrup:
- Boil sugar and water. Stir for 1 minute and let it rest
Prepare Pastry Cream:
- Whisk eggs and sugar until pale gold color.
- Add the flour and cornflour to the egg mix, whisk until combine. Rest aside.
- Place milk and vanilla in a saucepan, heat up until simmer, stirring frequently. Remove from heat.
- Slowly pour half of the hot milk into the egg mix, whisking all the time. Be sure the milk is not too hot because you dont want to cook the eggs! Add the rest of the milk and whisk.
- Return the whole mix to the saucepan, bring to the boil and simmer for 1 minute, whisking constantly so it is smooth.
- Pour the cream in a bowl, dust with icing sugar and cover with cling film.
- Set aside
Filling the roulade:
- Unroll the sponge carefully, it should be moist and sponge to the touch.
- Brush the stock syrup all over the sponge.
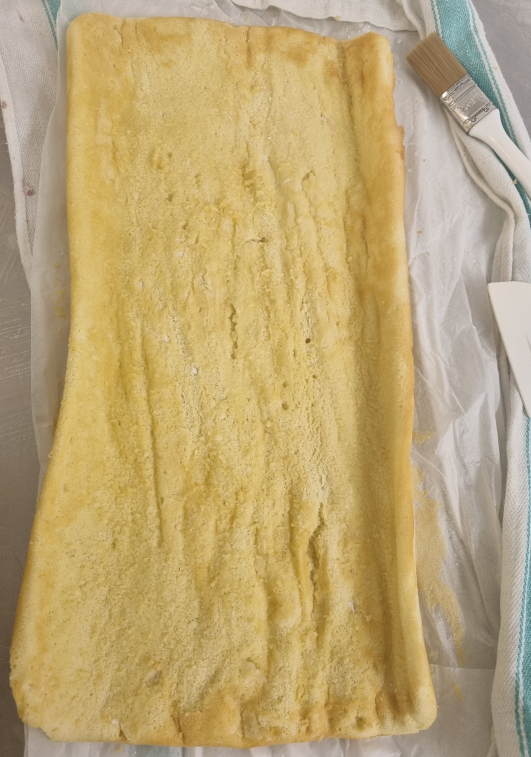
- You can trim the sides so it is even when rolling later.
- Take the pastry cream, whisk it again so it becomes creamy again. Spread 3/4 of the cream on top of the sponge and spread as much as you can over the sponge. Add the rest of the cream to cover places. Be sure you leave 2cm without cover in the side that you will finish rolling so the roll sticks and “closes”.
- Spread all chopped strawberries over the cream. Tap them so they are level with the cream when rolling
- Roll the longer side inwards, be sure you dont start from the side without cream! Use the paper to keep the roll tight at the very beginning, then release the paper and roll the whole sponge.
- Keep the seam down. Trim the sides to be sure they show cream and strawberries.
- Dust the top of the roll and with a sharp knife JUST mark the slices without cutting them.
Prepare Chantilly Cream:
- Whisk in a bowl the cream, sugar and vanilla until just start making peaks. Dont over do it because we are going to pipe it!
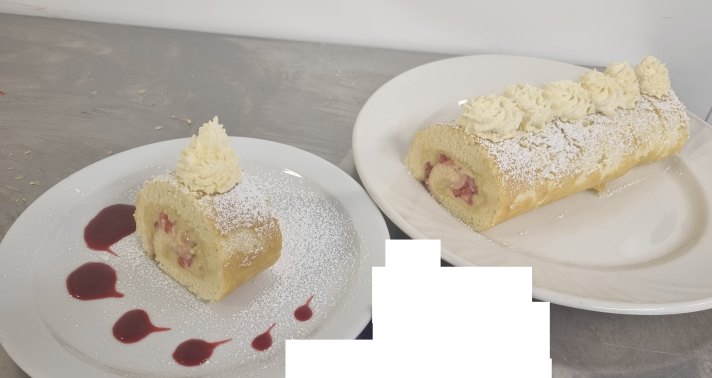
Presentation:
- Pipe a rose over each slice, add some strawberries and mint for garnish.